Not everyone knows what an ESA is nor do they understand the role an emotional support animal can play in someone’s life. There are those of us out there, diagnosed with mental health challenges, that rely on their ESA to function normally. I get tired of people saying “she’s just a dog” and “don’t worry, she’ll be fine” – but what about me!
My family had dogs growing up so I have been around dogs all my life. It wasn’t until I was a senior in college that I got my very first dog, from the dog pound, and he was also my first ESA.


His name was Turkey not because I went to Virginia Tech but because he was such a turkey. He was at my side when I studied and that was a tremendously calming presence. I remember playing with his paws while I worked. When I moved away to start my first job, it was wonderful to come home to someone that adored me. When I lost him, I was devastated and physically sick. This was the first time I was confronted with “he is only a dog”. Even the SPCA people seemed to think it was wrong for me to search for him and not to just adopt a needy animal. Within a couple of days, I fell in love with Heidi. She was in a cage at the SPCA and she needed me as much as I needed her.
I didn’t know that my companions played such a vital role in my health, I just knew that I loved them and enjoyed their company. Research has shown that animals play an important role in naturally altering brain chemistry by boosting oxytocin, dopamine, and serotonin – the feel-good chemicals. And being with them reduces cortisol levels which can reduce blood pressure. Here’s a short list of some other benefits:
- Eases loneliness and can help increase social connection. We walk everyday and always have some sort of interaction with others.
- Builds a sense of purpose: caring for an animal gives you a profound sense of responsibility which helps you develop a predictable routine. They give you a reason for getting out of bed in the morning!
- Because of an animal’s innate ability to show attention, compassion, and awareness they are perfect companions for people suffering from PTSD and anxiety.
- NIH studies are showing the benefits for children – having an ESA helps them deal with their emotional and social skills.
- On the other end of the spectrum – ESA also promote healthy aging by decreasing distress, loneliness, and depression.


Menopause and empty nest syndrome hit at about the same time and my mental health took a major hit. My dog, Daisy, while a good companion, was not a cuddler. I wasn’t in a position to get a second dog so I shared my son’s dog Gladys with him. He would drop her off on his way to work and pick her up on his way home. Gladys, Daisy, and I shared many adventures.


When the pandemic hit, it was hard to maintain the sharing of Gladys so I did some searching and found Tippi. Gladys still spends time with me. Luckily she and Tippi get along.


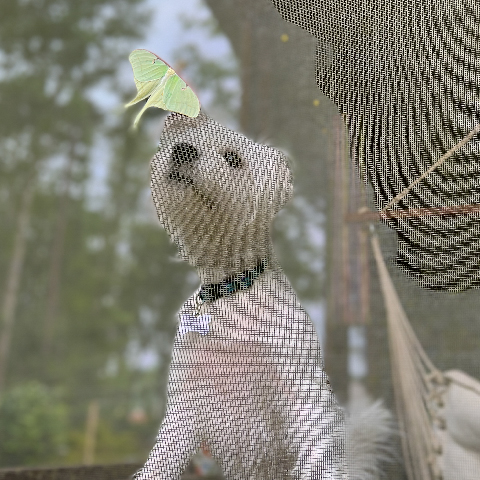
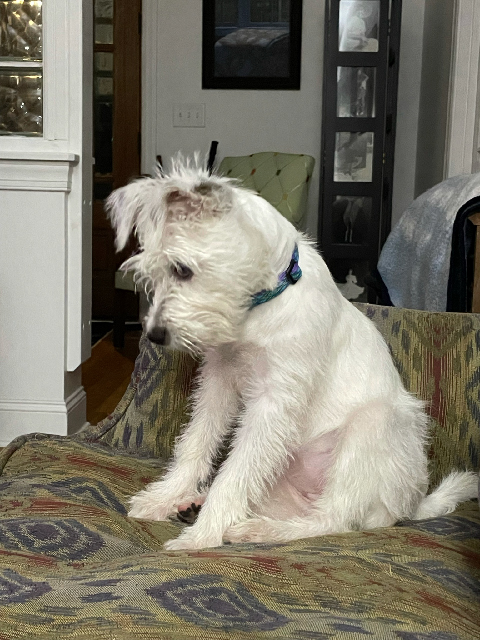
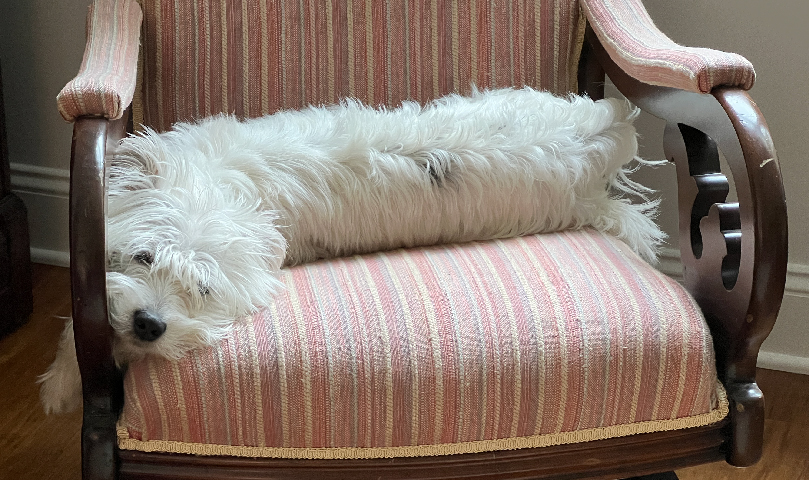
Tippi is my current ESA. She is a wonderful companion and has been by my side through a lot. It’s hard to believe that she is now 5 years old. She had a rough start in life, when I found her, she was 3 months old, in solitary confinement at the dog pound! She was so excited to be adopted and have a big sister to teach her the tricks. And she loved being at my side. She was a year old when my husband got sick, her compassion and attention helped pull me through.


For the last four years, we have done everything together. She is happy to go for walks or just roll in the grass. When I am working, she becomes my guard dog – no big brown trucks get close without my knowing it! She is the inspiration for my book Tippi Emotional Support Dog Extraordinaire which you can read about here. I also have a page dedicated to our life together which I plan to continue adding pictures of our adventures.